Overview
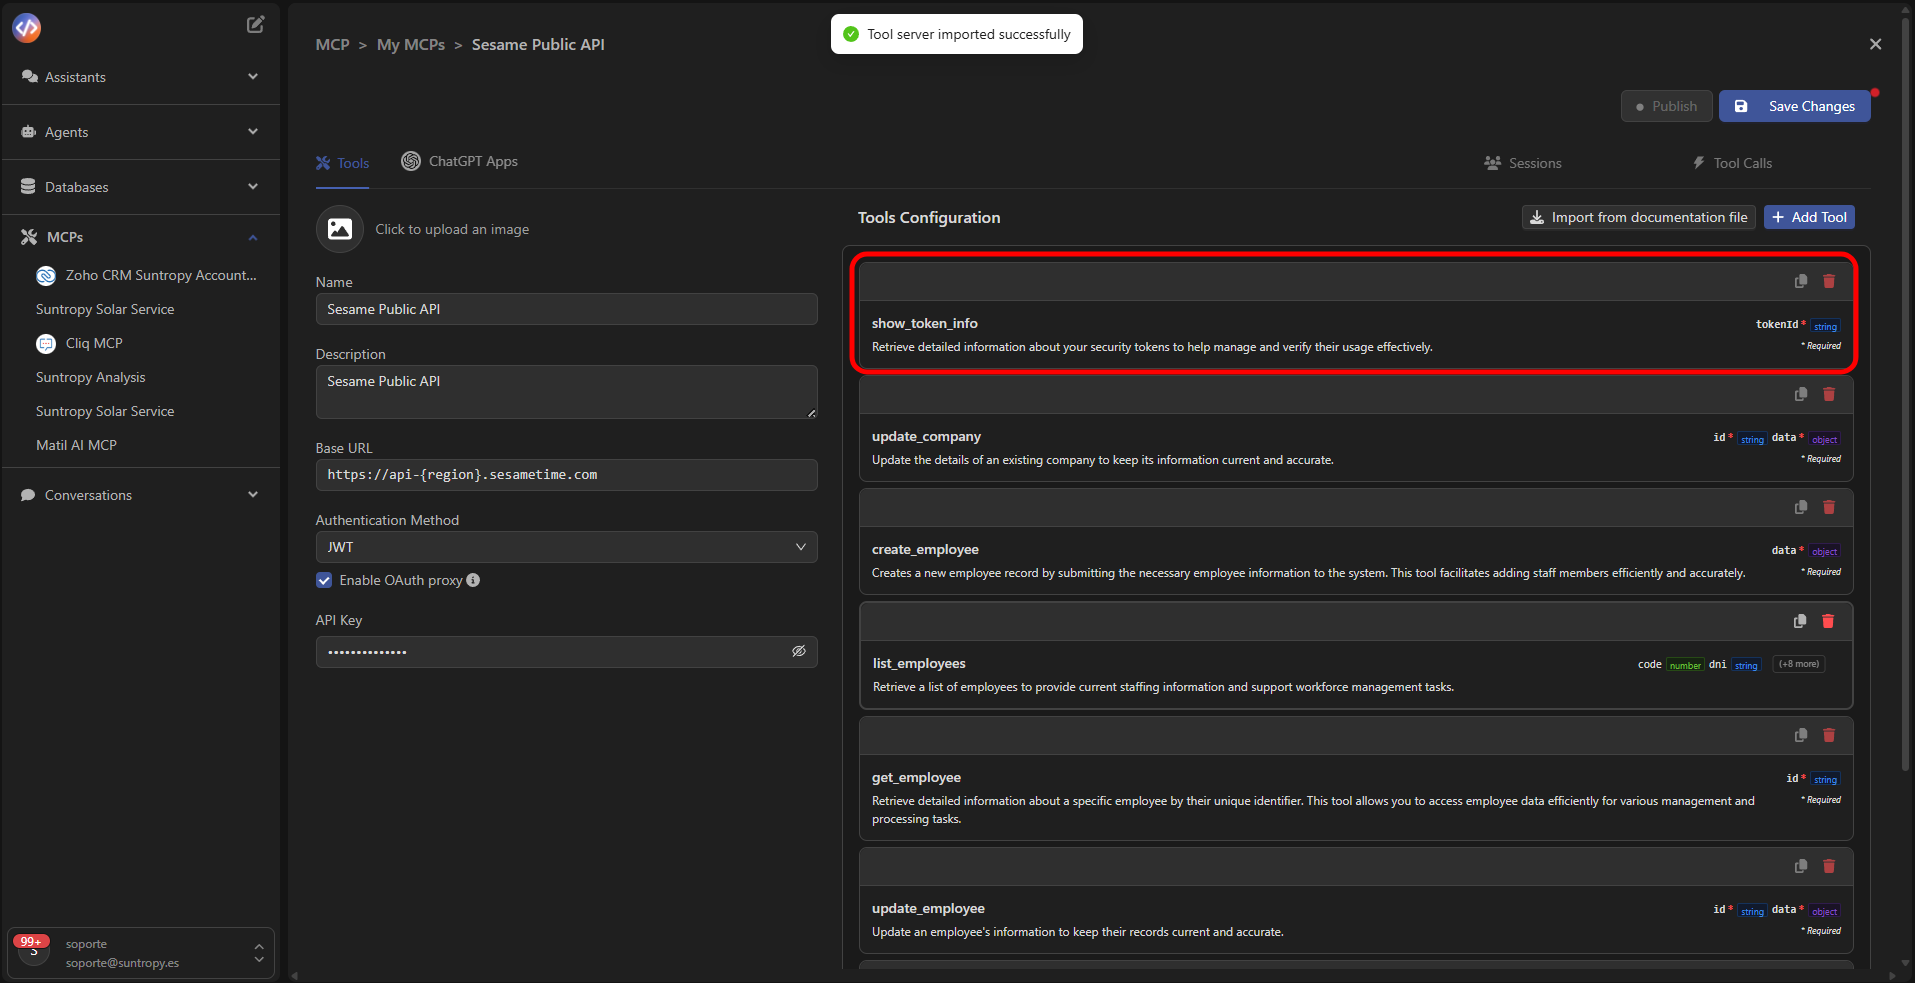
Once your MCP has been created or imported, you can adjust the behavior of each tool from the configuration panel.Each tool represents an endpoint of your API and defines how the model will interact with it.
Configuration Editor
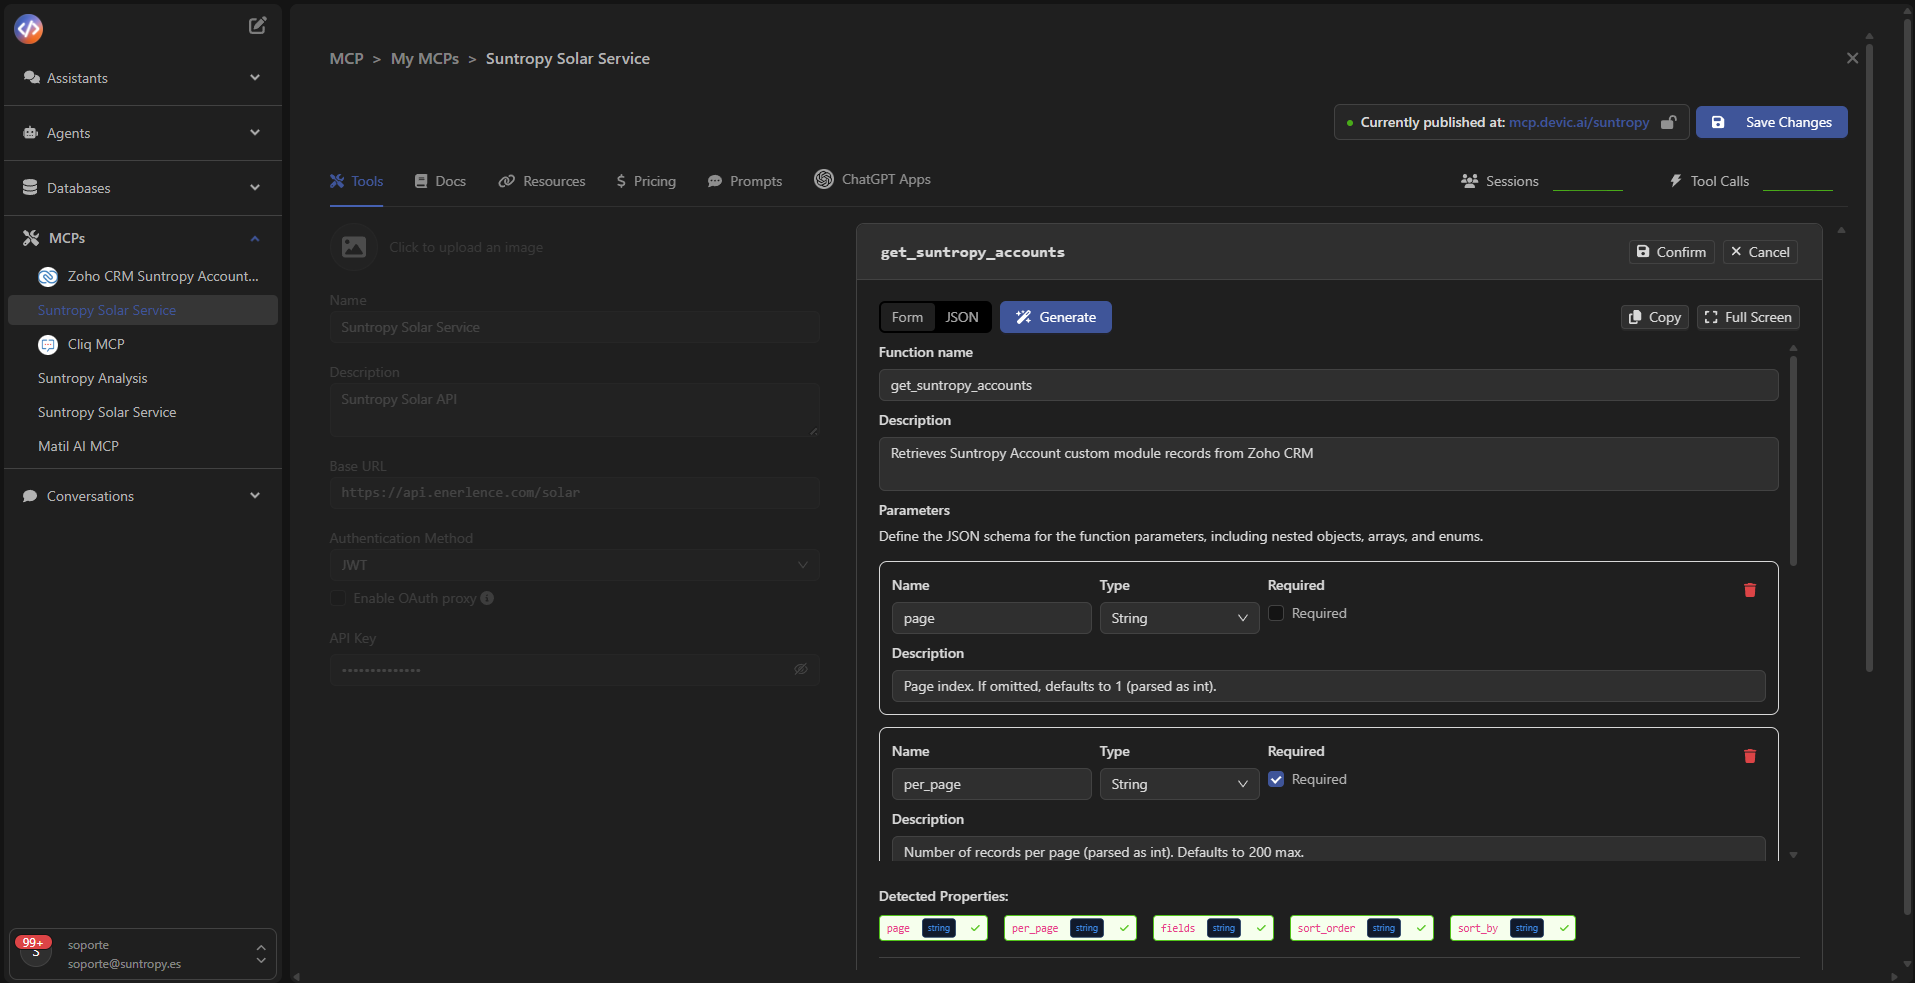
When selecting a tool, the editor opens, where you can define the following fields:- Function name: internal function name.
- Description: brief explanation of the tool’s purpose (example: “Retrieves studies categorized by type within a date range”).
- Parameters: parameters required by the API (name, type, and description).
- Endpoint: service path (
/api/analytics/studies/counts-by-type, for example). - Method: HTTP method used (GET, POST, PUT, DELETE).
Automatic property detection
Devic automatically detects parameters defined in the JSON and displays them as Detected Properties,
ready to bind with the body or endpoint path.
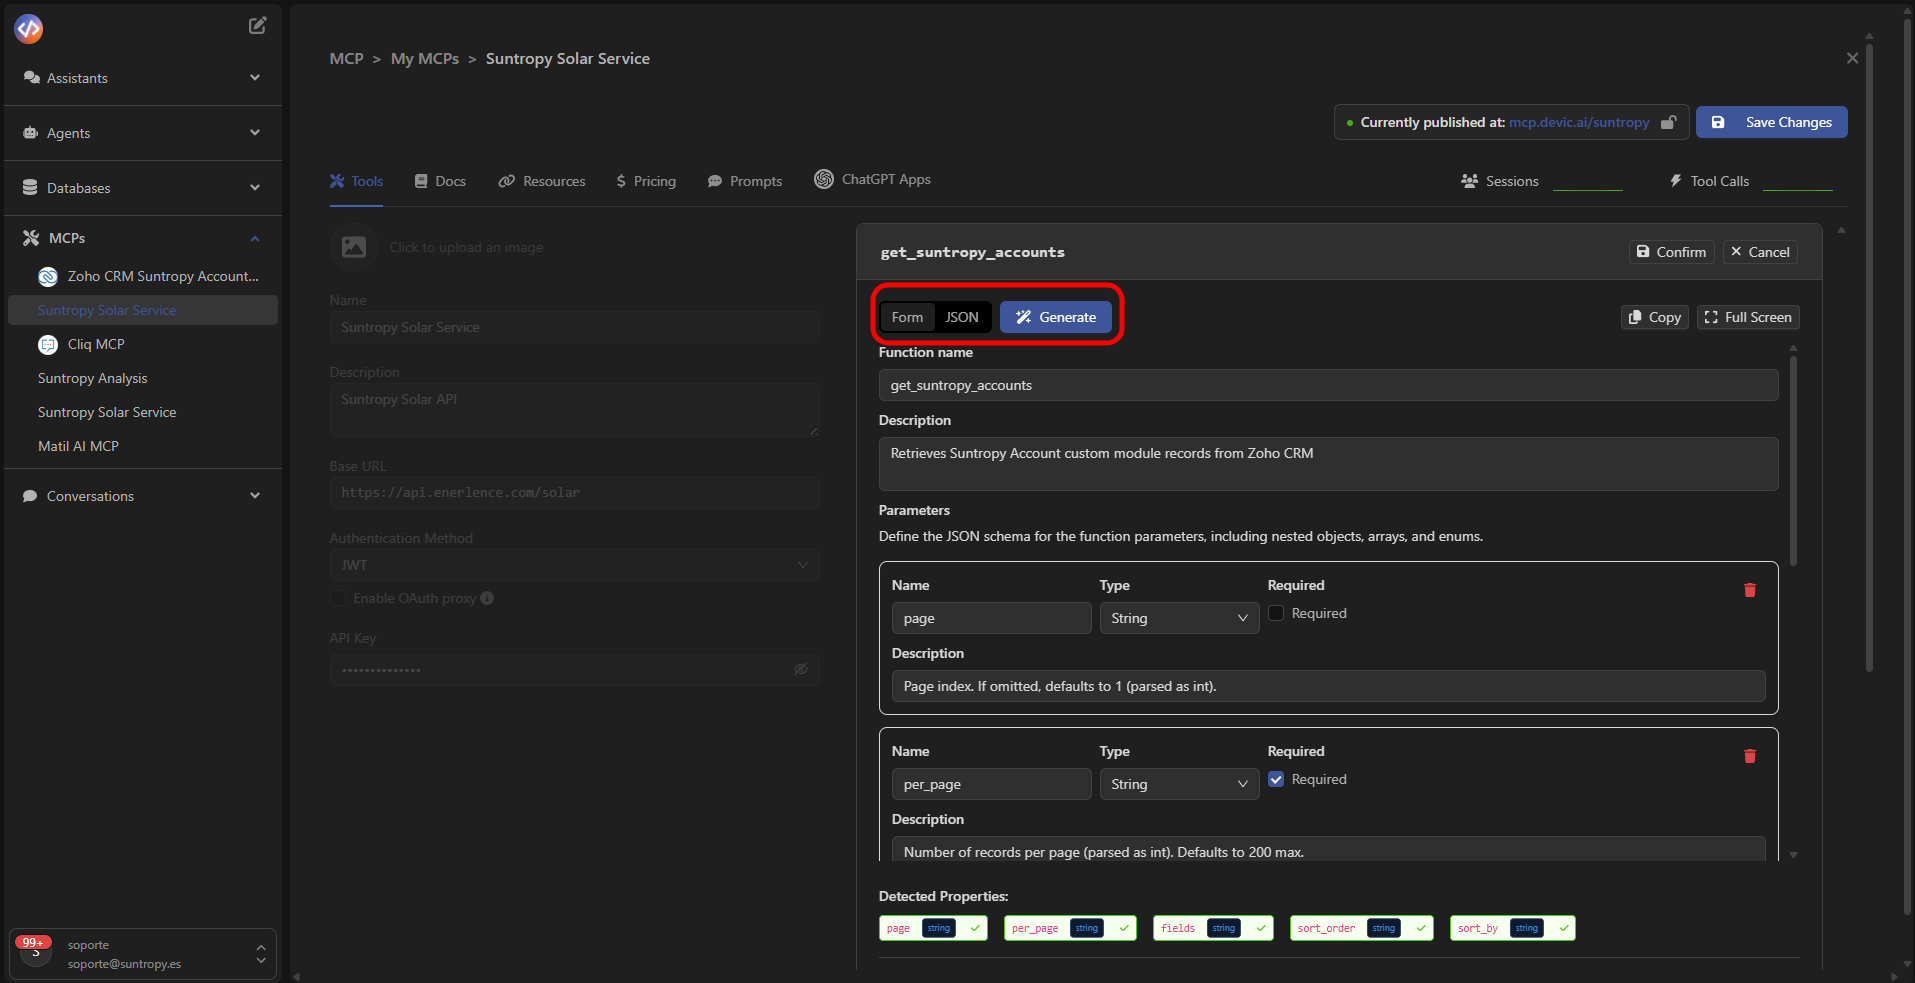
Editing modes
You can define a tool in two ways:- Form: visual interface with editable fields for each property.
- JSON: structured view of the full schema, compatible with OpenAPI.
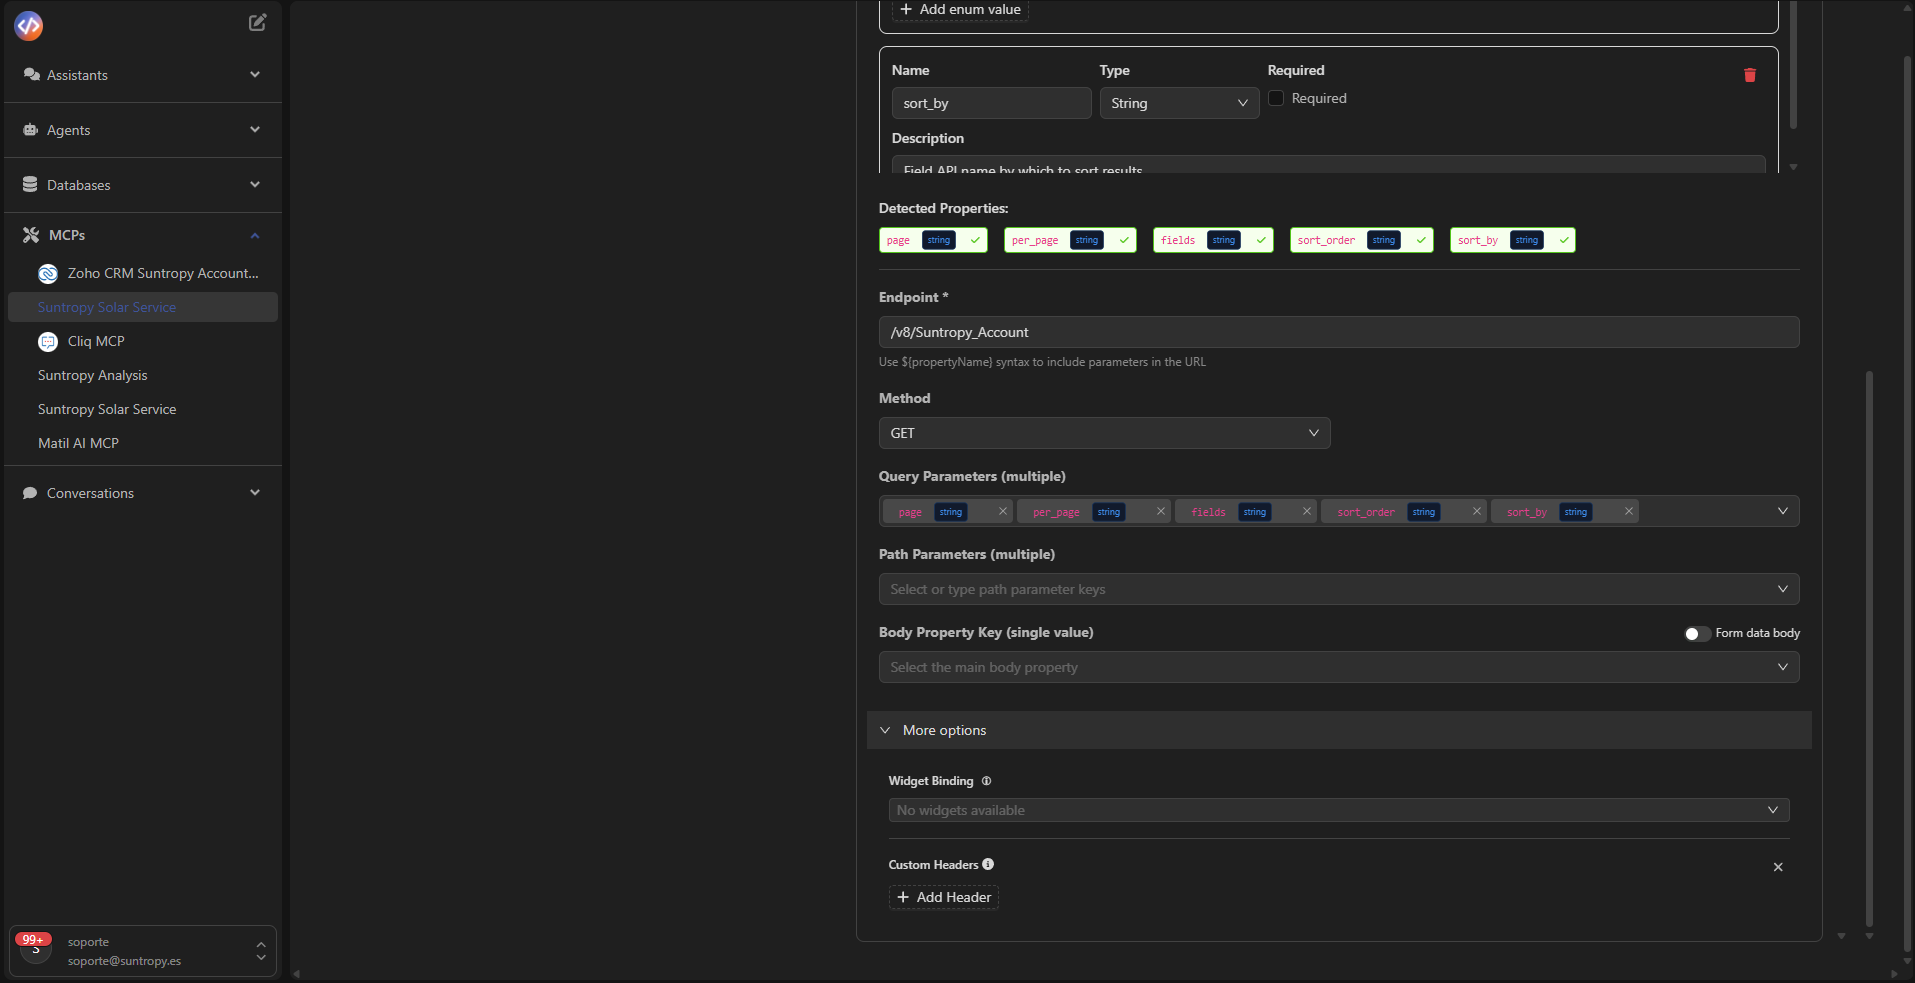
Advanced options
At the bottom of the panel, you’ll find additional settings:- Query Parameters: parameters sent via URL (
?param=value). - Path Parameters: variables included in the route (
/api/{id}/data). - Body Property Key: main property of the JSON body.
- Custom Headers: custom headers for authentication or context.
- Widget Binding: links the tool with embedded widgets or SDKs.
Save configuration
Click Confirm to validate the changes and Save Changes to apply them to the MCP.
Validation and testing
Once the tool is configured, the MCP will be ready for use.You can test its execution from agents or assistants, or verify it in the Tool Calls tab, where all invocations are recorded.
Next step
Learn how to publish your MCP so it becomes available to internal agents or external environments.